When it comes to turkey cooking the options are limitless. I experimented with frying it in boiling oil, brined it in various solutions for several days, wrapped it with bacon, cooked it stuffed and hollow. I will never claim that below is the best recipe of doing a turkey but it made me stop experimenting.
Each method has its perks in terms of delivered taste. A turkey, however, is a very cranky bird no matter how you chose to cook it. Dance around it all you want and still it can come out dry as your Russian girlfriend after finally getting your signature on a generous prenup.
There is, however, a way to keep a healthy balance and cook the dark meat on her legs to perfection without drying up the white one on the breasts.
A lot of folks believe in brining thinking that breasts absorb moisture from the solution and this way the white meat stays moist while the read meat is being cooked.
I tried it and the method described below is much more effective at delivering evenly cooked, moist and tender turkey.
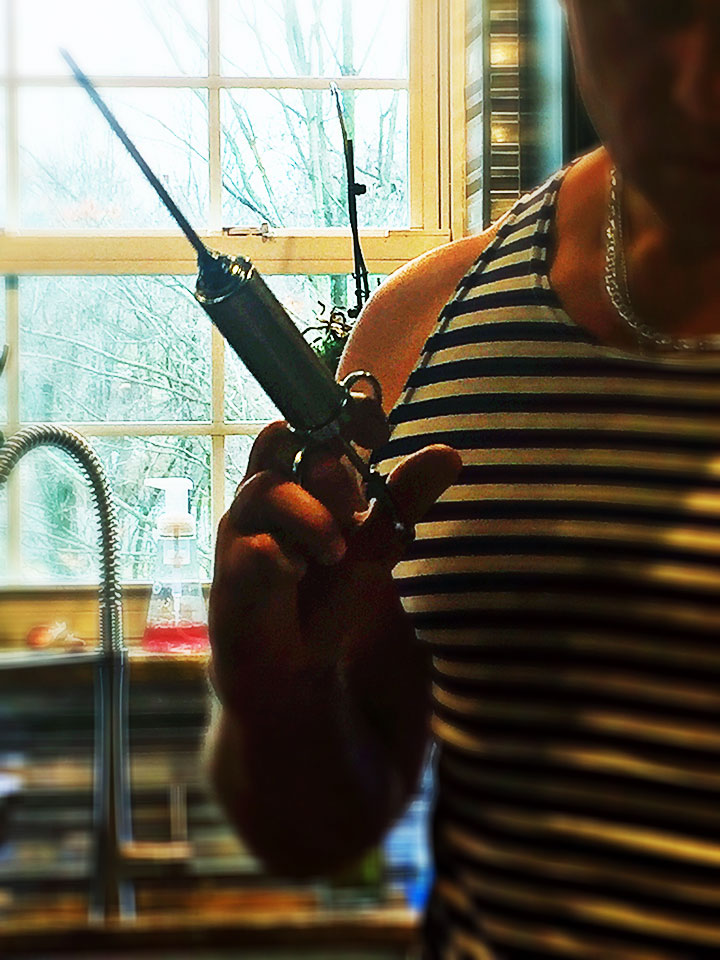
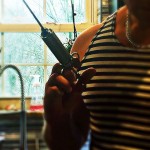
To cut the bullshit short the magic is done by thoroughly injecting the bird with 6% saline solution. Every part of the body gets injected until the bird looks like Mariah Carey – plump and juicy.
So hail to the injections!
The rest of the read is more or less non-bullshit, down to the objective content that consists of 3 parts:
- Turkey preparation and cooking.
- Stuffing, which I cook separately.
- Sauce – a quick method that delivers rich and well balanced cranberry sauce in 25 mins.
Turkey Preparation and Cooking
Created by Modernist Cuisine guys, it has been executed by me for several years with minor edits listed below and reliably produced a turkey with crispy skin, tender, juicy and tasty meat.
Here is the original article. However, it is long and has a lot of theoretical fluff that explains each point they are making which dilutes the steps necessary to reproduce the recipe. In this day and age – who wants to read anything long?
Below is the crux of the method for your easy consumption. You can refer to the original article for details as needed.
Tools:
- Brining syringe with long thick needle
- Place in the fridge to cool the bird
- Metal tray
- Metal mesh tray or roasting rack
- Oven thermometer
- Silicone Brush
Preparation:
- Weigh the turkey.
- Measure 1 kilo of water (1000 grams) mix in 60 grams of salt (6%). If your turkey is big, just make another liter of mixture until you satisfied with the results and your turkey is well injected.
- For each 5 lbs of turkey weight – you’ll need to inject about 1 cup of the solution but if you need more – do more.
- Mix it all in and start injecting the turkey pulling the skin into the meat concentrating on breast, legs, thighs. Evenly. About 1” distance from each hole. Do it slowly so the liquid gets into the muscles and doesn’t leak out. Try to inject into the center of the muscle and do not puncture the meat through. I like to insert most of the needle at approximately 35-degree angle along the muscle and slowly pull out thus covering more muscle areas.
- DO NOT puncture the skin.
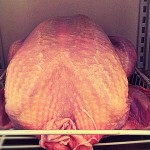
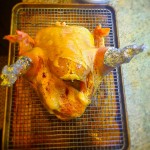
- Once injected – put the turkey on a mesh tray or roasting rack. Then place a metal tray under them to absorb the drips.
- Put this set in the fridge for 24 hours to dry out. Uncovered. Ensure that the air can circulate all around the turkey. This is needed to make its skin crispy.
- Calculate rough cooking time based on 15 minutes per pound of unfrozen, unstuffed turkey @350 F. That said – I wouldn’t cook it for more than 5 hours even if it’s a 30lbs turkey. Research more about it on your own. If you use stuffing – it’s a different ballgame in terms of timing.
- After 24 hours start below steps but keep in mind cooking time required to make it ready for your dinner.
- Here I do an extra step not covered in Modernist Cuisine method. I take about 4 tbs of soy sauce, mix it with a tiny bit of honey and 1 tbs of paprika and using silicone brush cover the turkey with a layer of this mix.
- Preheat oven to 375-400 F.
- Place turkey on metal mesh or roasting rack on top of it and then place it all on a clean dry dripping tray.
- Cover turkey well with aluminum foil to avoid burning the skin.
- Stick a thermometer into turkey’s breast. Find the meatiest part of it. It has to be inserted in the center of the muscle. Do not puncture breast through. Alternatively – insert into the meatiest part of the thigh avoiding the bone.
- Keep the bird in the oven covered until thermometer shows internal temperature of 155F.
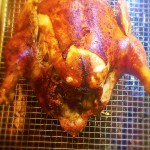
- At this point remove the foil and increase the temperature to 450F to brown the skin and keep it until thermometer shows 160-162F.
- Once reached – remove the turkey from the oven. It will continue cooking internally to about 163-164F outside of the oven.
- DO NOT cut the turkey immediately. Let it rest for 20 minutes uncovered. Work on the side dishes and table arrangements in a mean time but don’t puncture the bird until 20 minutes pass.
Stuffing.
I am still on my quest for Turkey stuffing that I would love. I have done a few and they were OK. May be it is because I am not a huge fan of bread based foods or because at our table there is so much great food that no one really cares much for the stuffing. The Russian table is full of better choices when it comes to side dishes. Hence, I have yet to witness stuffing that would be in high demand at our table.
I also cook stuffing on a side of at all. For two main reasons:
- There is not much that can fit inside a turkey for the party of 15+ people.
- To reach internal temperature of stuffing high enough for it to cook through – the turkey will need to be heated way above desires 160 F which will severely overcook the white meat.
Some folks preheat stuffing before they insert it into the turkey as a workaround. It probably would work but then why not just cook it separately altogether? I guarantee that blind tasting of properly cooked stuffing will not be successful to detect which one was done inside or outside turkey’s womb.
Stuffing I tried last year required a lot of work and was very good. But it largely went into leftovers bin due to better, tastier choices available at our table. Just for the record the recipe can be found here:
Prune and Apple Stuffing With Sausage and Chestnuts Recipe
This recipe looks interesting as well.
Classic Sage and Sausage Stuffing (or Dressing) Recipe
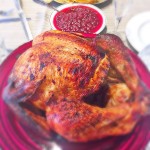
The Sauce.
I love pressure cooking and based on tips I’ve tried and learned while making countless pressure cooked soups – the same technique works well with cranberry sauce. It also takes 25 minutes end to end to prepare this sauce.
For the party of 25 which is about to be right in my house we’ll need the following:
- 8 cups rinsed cranberries
- Ginger – about 2 inches, cut into ¼ slices
- 2 cups fresh tangerine juice
- 2 cups sugar. I think honey would work well here as well.
- Soda – (.5% of soda to the body mass of the overall product)
- Salt (1% of salt to the body mass of the overall product)
- You can read why do I add soda and salt as well as why in these proportions here.
- Mix all of the ingredients inside pressure cooker
- Cook for 15 minutes at 15 PSIs
- Chill pressure cooker and carefully release pressure before opening to avoid an incident
- Mix well, remove the ginger and serve.

No Replies to "A Tender Turkey Is Only A Few Injections Away."